How to set up SAML SSO in Current
SAML (Security Assertion Markup Language) is a protocol used for single sign-on (SSO) authentication. Enabling SAML SSO allows users to authenticate into different applications and services with just one set of login credentials. This article goes over a general approach to set up SAML SSO with a variety of Identity Service Providers.
Identity Provider Specific Guides
👉 Okta
👉 Google Workspace
1. Create an Account with SSO Provider
The first step in enabling SAML SSO is to create an account with your preferred SSO provider, such as Okta or OneLogin. These providers will act as the identity providers (IdP) for your organization. Once you have created your account, you will be able to configure the SSO settings for your organization.
2. Create an App with your SSO Provider. You'll need to supply these details:
General
note: not all my be applicable
SSO URL: https://api.app.current.so/auth/sso
Entity ID: https://api.staging.current.so/auth/sso/metadata
Audience URI: current
Name ID format: EmailAddress
Applicate username: Email
Update application username on: Create and update
Attribute Statements
note: depending on the IdP, you might not need "user"
firstName: user.firstName
lastName: user.lastName
email: user.email
3. Add Users to SSO Provider
In order to use SAML SSO, you need to add your users to the SSO provider. For example, if you are using Okta as your SSO provider, you will need to add your users to Okta. This can be done by either manually creating users or by syncing users from your organization's directory, such as Active Directory or LDAP. Once your users are added to Okta, they will be able to use SAML SSO to access your application.
4. Enable SAML SSO on Current
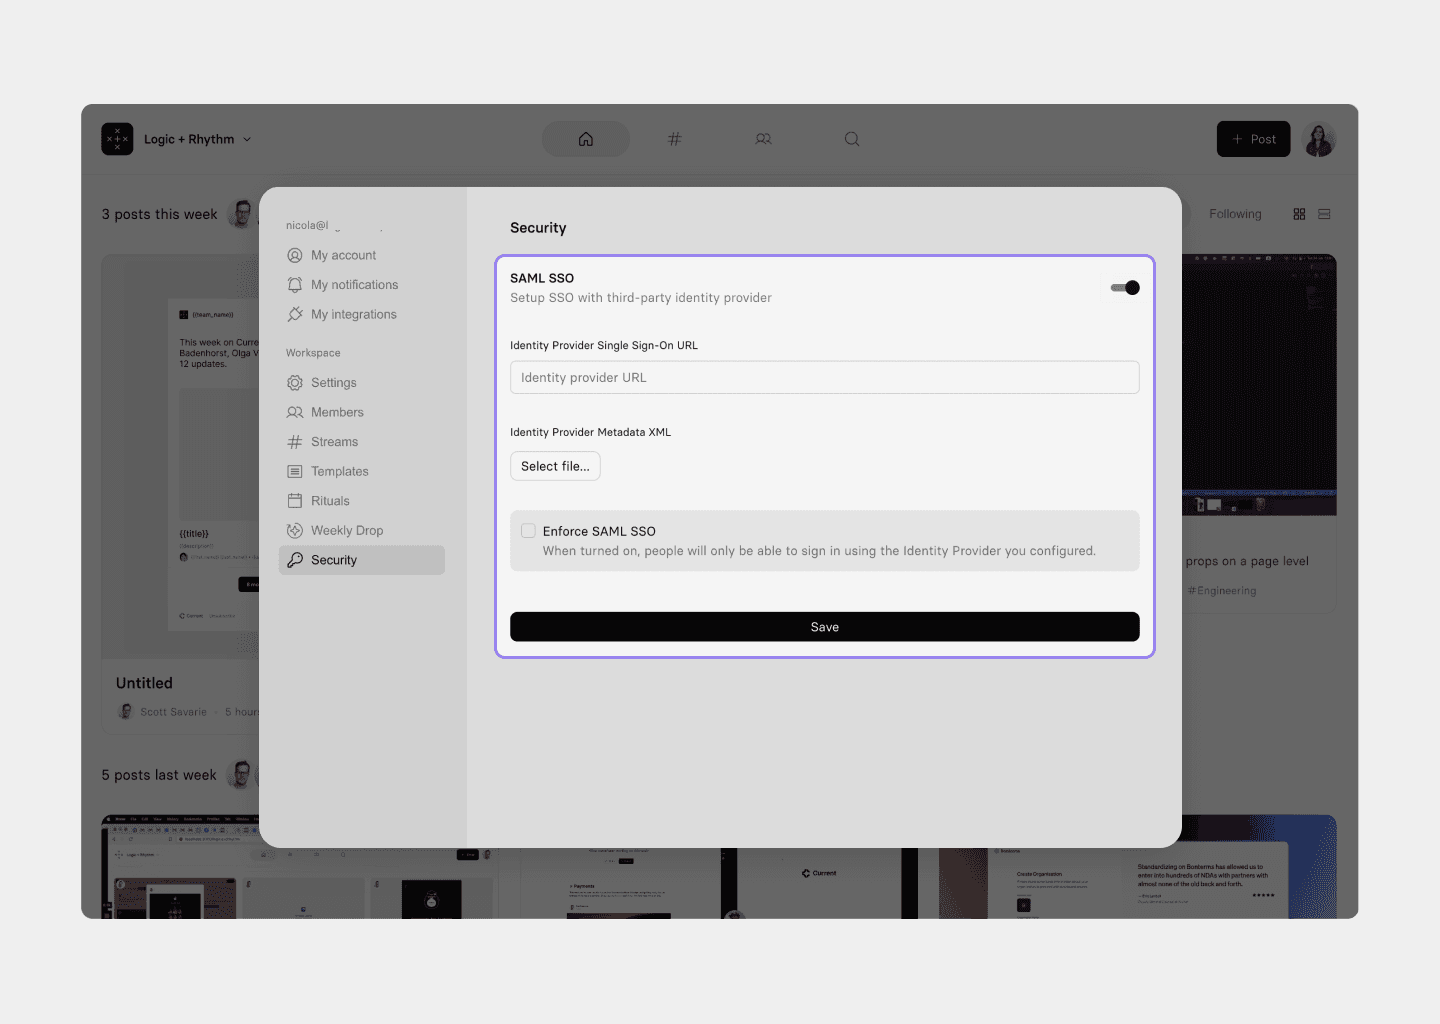
To enable SAML SSO, you will need to add the Single-Sign-On URL and XML Metadata certificate from your SSO provider. This certificate is used to establish a secure connection between your application and the SSO provider. The certificate can usually be downloaded from the SSO provider's dashboard or obtained through email.
Once you have obtained the certificate, upload it by follow the next steps:
Click on Workspace menu.

Click on Settings and Members.

Click on Security.

Toggle on SAML SSO.

Complete the fields and upload your certificate.

5. Signing In
After you have enabled SAML SSO and added your users to the SSO provider, your users will be able to sign in to Current using their SSO provider credentials. When a user tries to access Current, they will be redirected to the SSO provider's login page. Once they have entered their credentials and authenticated with the SSO provider, they will be redirected back to Current.
6. Enforce SSO in Current
Enforcing SSO means that users will be required to authenticate through the SSO provider before they can access Current.
Click on Workspace menu.

Click on Settings and Members.

Click on Security.

Toggle on Enforce SAML SSO, this will force users sign in through the SSO provider before they can access your workspace in Current.

Still need help? Send an email to support@current.so.